A century ago Otago’s soldiers were reeling from the pounding they had taken in the last big push of the disastrous Gallipoli campaign. For the men of the Otago Mounted Rifles this included the loss of their inspirational commander, Colonel Arthur Bauchop. Shot by a sniper on 7 August 1915 in the desperate fighting to secure the hill that still bears his name, Bauchop died on a hospital ship a few days later. At great cost, however, his men took and held their position. The New Zealand Mounted men’s derring-do that night opened the way for the subsequent infantry assault on the heights of Chunuk Bair. Australian war correspondent Charles Bean described it as a “magnificent feat of arms, the brilliance of which was never surpassed … during the campaign”.
Born in Port Chalmers, Arthur Bauchop was one of Otago’s most experienced soldiers, a decorated veteran of the Boer War. When war broke out in 1914, he was commander of the Otago Military District. In the months he spent at Gallipoli, guarding Anzac’s northernmost outposts, Bauchop thought carefully about ways to break the stalemate that had developed. Plans for a surprise attack around the Turkish flank via the Sari Bair range appealed to him. He spent a lot of time studying the map that is now on display in Toitū’s display The Otagos at Gallipoli. He came up with various possible routes through the thinly defended Turkish lines in his northern zone. When told of the plan for a night-time attack with bayonets alone, Bauchop confided to his diary “I liked the scheme”.
Bauchop has no grave but is commemorated on the Lone Pine Memorial to the Missing. His name is also inscribed on the landscape: Bauchop’s Hill is one part of Gallipoli that will always be just a little bit Otago’s.
IMAGES
Arthur Bauchop’s map planning the OMR’s August attack, 1915.
Bauchop (centre with arms folded) surrounded by OMR men at Anzac.
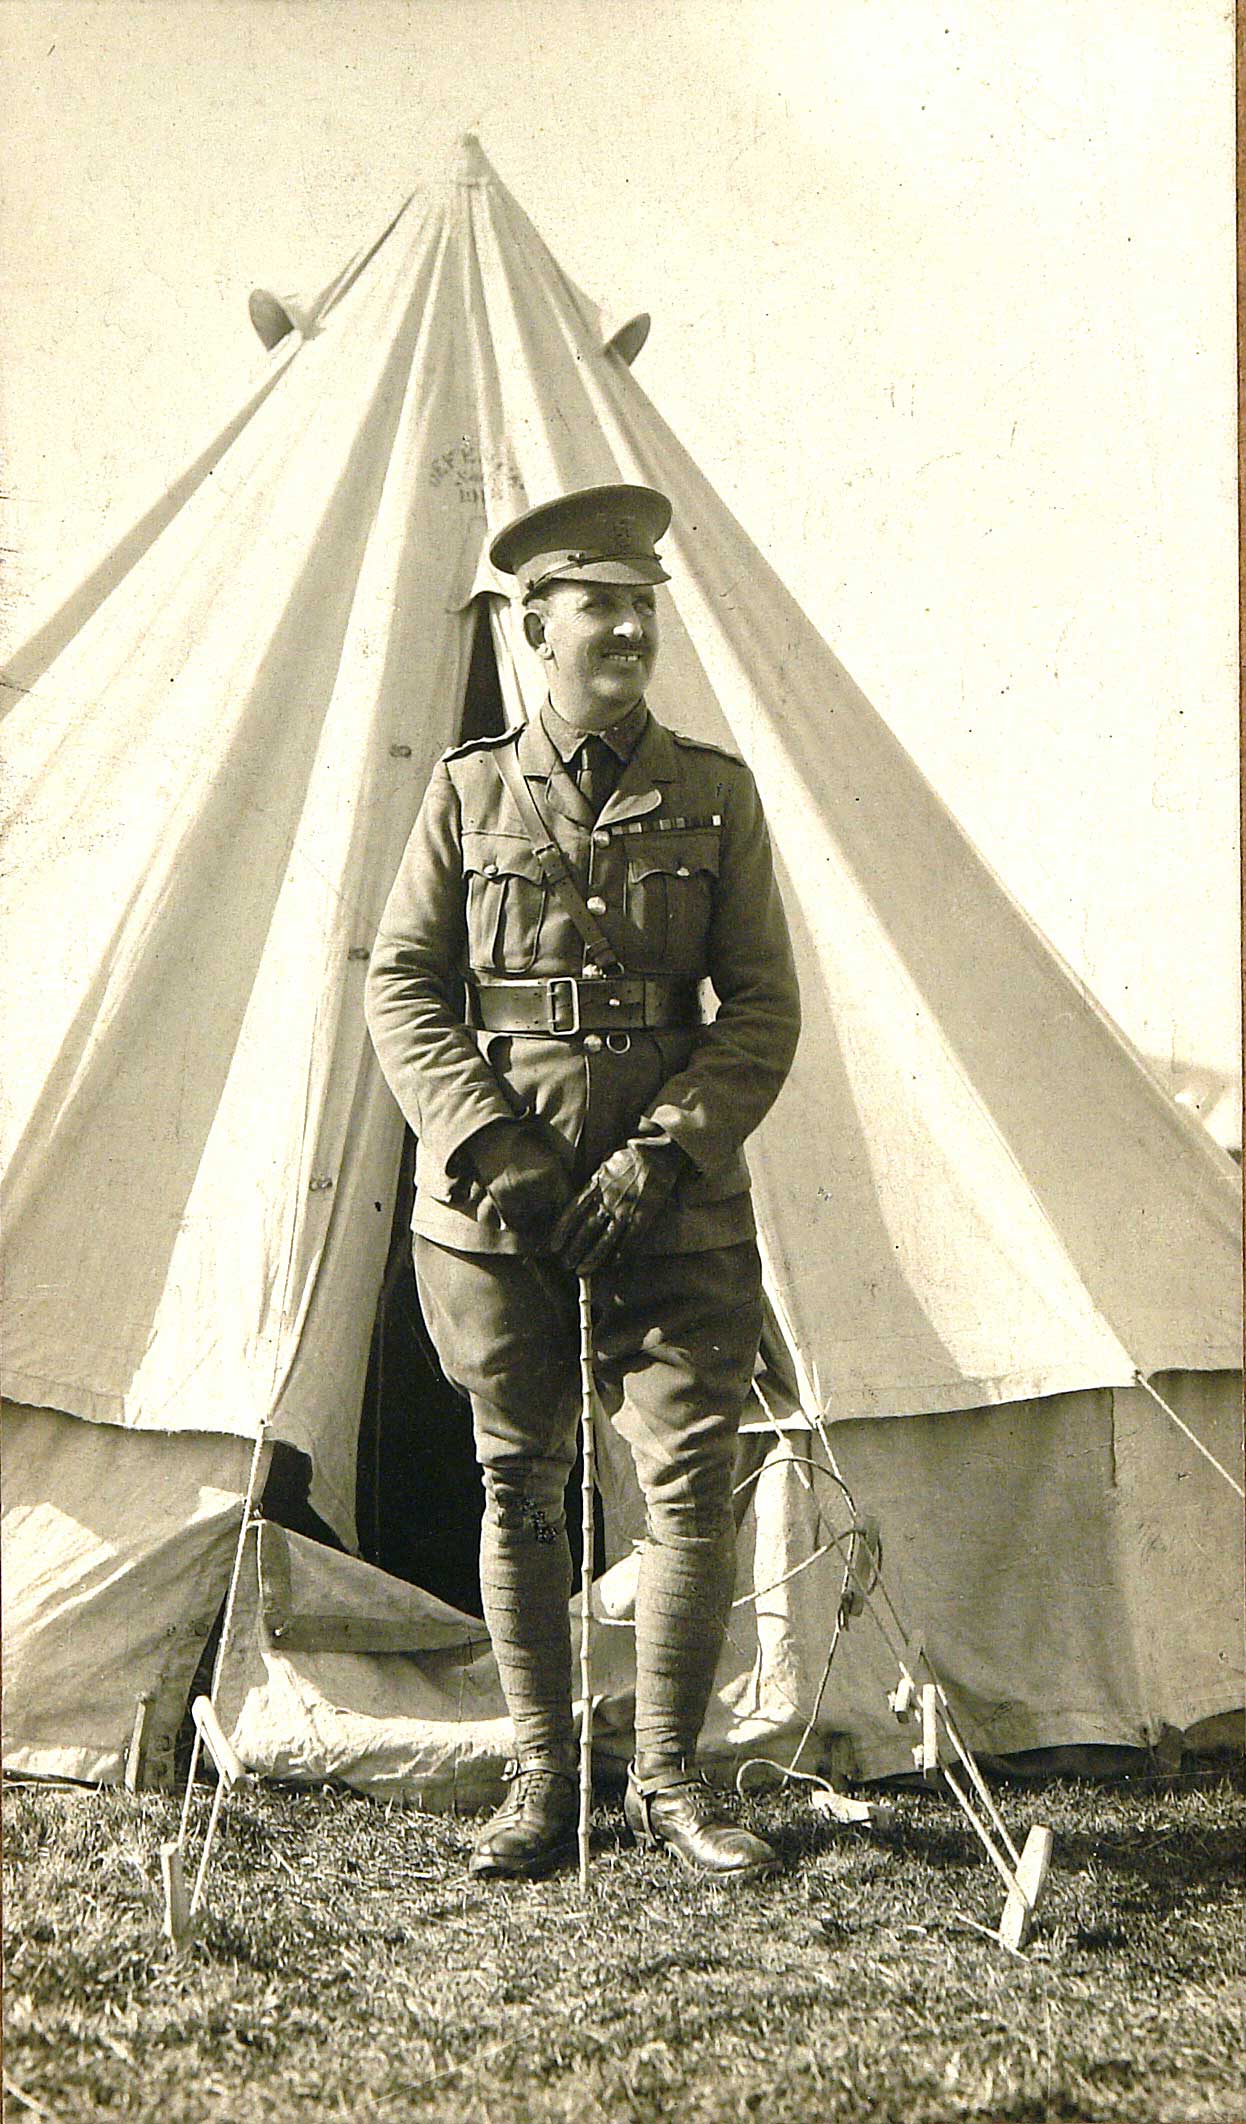
Lieutenant-Colonel Bauchop in uniform in 1914.